
Layers (Basic)
How to create a new layer?
1) Open the canvas

I use the setting above for my canvas. You can change the size of canvas according to your own liking. For me, I'm using 800x400 pixels for this tutorial. When you're satisfied, click the OK button to continue. The below shows how my canvas looks like:

2) Creating a new layer

Click the icon (that is circled with red color) to create a new layer. After clicking, a new layer will be created at the top of the "Background". There you have it! A new layer is created, it's simple as a pie.
Understanding the layer style, blending mode and options
Basically, layers is used to avoid you from doing your work all over again. If you tend to design, put special effects and texts on the same layer, it will be difficult if you want to change a single particular thing. In this tutorial, I'll show you what they layers could do and what it offers you.
1) Putting on texts

You can put texts by clicking on the red circle as shown above. The text will create a new layer automatically on top of the "Background", so you don't have to create a new layer when you want to put texts on your design. You can change font types, the size of the font and the font style as shown above.
2) Organizing the layers and their differences

I created a new layer on top of the text layer. With the Brush Tool, I draw a wavy blue lines, cover almost half of the text. It's difficult to read the text now. Therefore, if you wish to put the lines below the text, you can click and hold the text layer (in my case "Layer Practice") -> drag it on top of Layer 1 -> release it. For example, you can refer the below image:

3) The layer blending mode & opacity/fill

With a new layer, I draw another wavy lines but this time with a slightly darker colour. You can change the blending mode of the layer or the opacity and fill as shown as above. For me, I change my blending mode from Normal -> Hard Mix. Here's the outcome of how the layer would look after changing to Hard Mix:
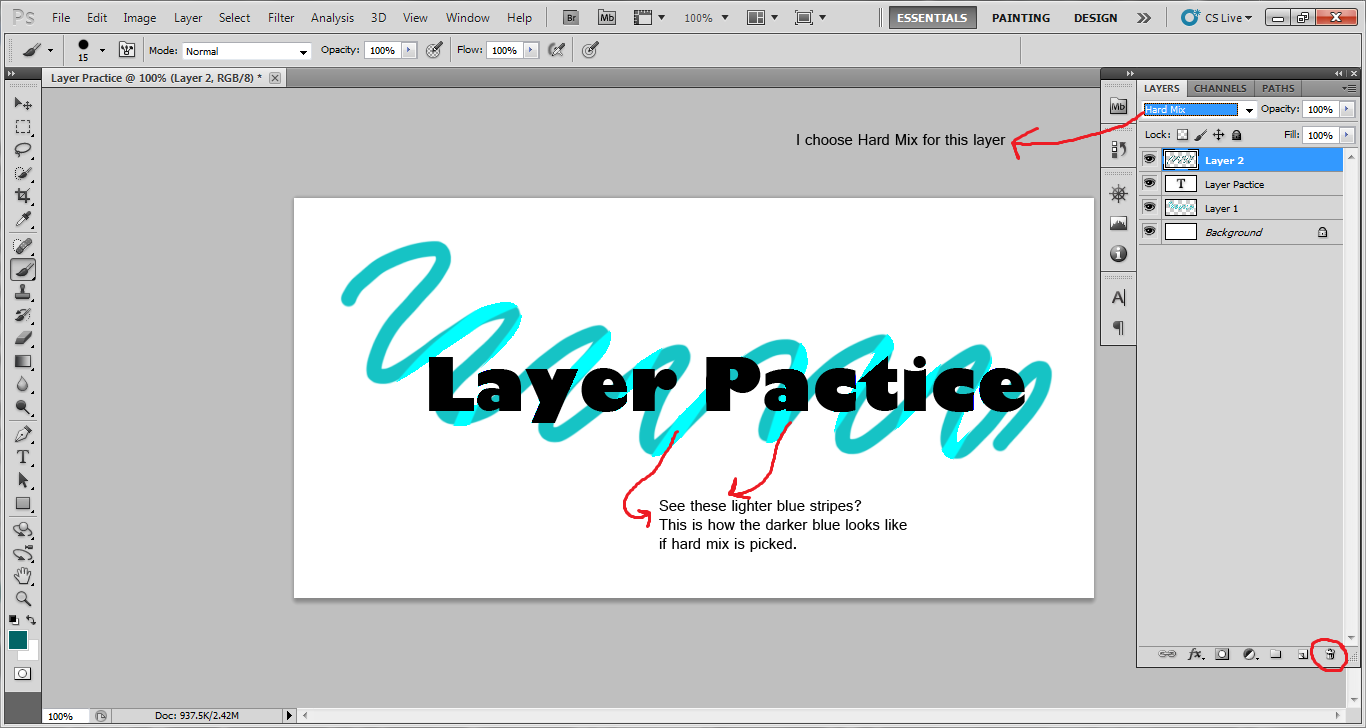
If you're not satisfied with the change, you could always choose another blending mode. You can also delete this layer by dragging the "Layer 2" to the dustbin icon circle with red.
4) The layer style

With a new layer, I draw grass and leaf (humor me, I don't have an artistic hand!). By clicking the icon circled in red, you can choose all types of layer style. There are a lot of layer style to choose from but don't choose too many. Around 2 - 3 would be suffice for me. Here's what I have decided to choose:

I choose the "Drop Shadow" and "Stroke Style". After you're satisfied with what you have choosen, click the OK button to continue. This is how my style looks like after it's applied:

If you're undecided about a certain layer, but you do not wish you delete it yet, you can always choose the invisible option by clicking the eye icon circled in red above. You can refer the below image to see what the layer looks like after clicking the eye icon:

There you have it, a basic tutorial about understating layers. You can always "Try an error" method when you're not certain of an effect and style. You can just press the Ctrl + Z button to undo anything, or simply browse the History option provided in the Photoshop. Good luck and happy trying~
No comments:
Post a Comment